2 April 2019 - 30 April 2019 (week 01- week 05)
Soo Wen Yi (0334653)
Digital Photography and Imaging _ Exercises
INSTRUCTIONS_
EXERCISES_
Exercise 01
Week 01
Today is our first class and so we learnt the basics of Adobe Photoshop, it's also the first time I'm using Photoshop so I was quite excited. We get to try out editing in class with Captain Marvel, and also editing Shazam into the Hearst Mansion. There was a lot of things to remember so I wrote it down on my phone since it helps me remember them better. I also learnt that once you downsize an image and try to upsize it again, it will destroy the image since it was already being compressed.
This is my attempt to put myself into the Hearst Mansion. I wanted to capture some sort of motion in the picture, so I thought of diving into the pool from the mini balcony.
Week 02
We learnt how to use the vector mask today. The first one is a ghost house, we had to place the house to a background given and add the ghost bride into the house.
The second one we did is editing this abandoned house onto a sky background of 2 choices, since the first sky image's perspective is off compared to the house. So I used the other sky image. Since the light is coming from a different angle, I shaded the side of the house and the grass.
Exercise 03
Week 03
We learn to recolour black and white portraits, we coloured different parts of the face on different layers. And end with a background with filling in the layer first, then create a vector mask with the rest of the layers (by clicking on the background layer, then hover over the other thumbnails with the shift key and clicking the vector mask button).
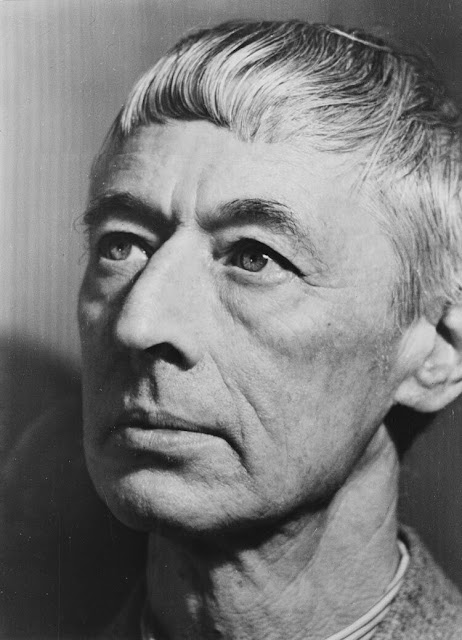 |
| Given image |
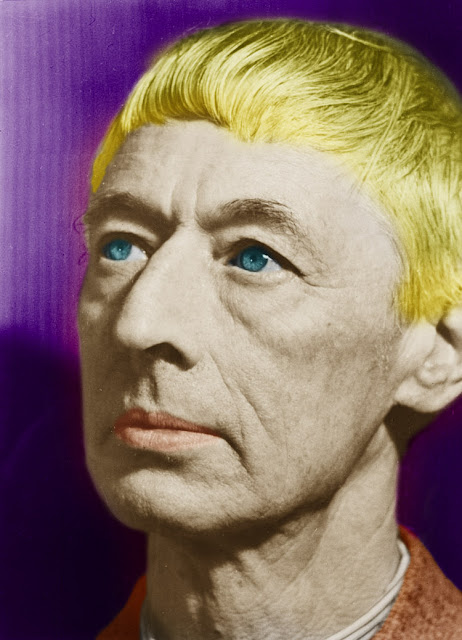 |
| 1st try on recolouring |
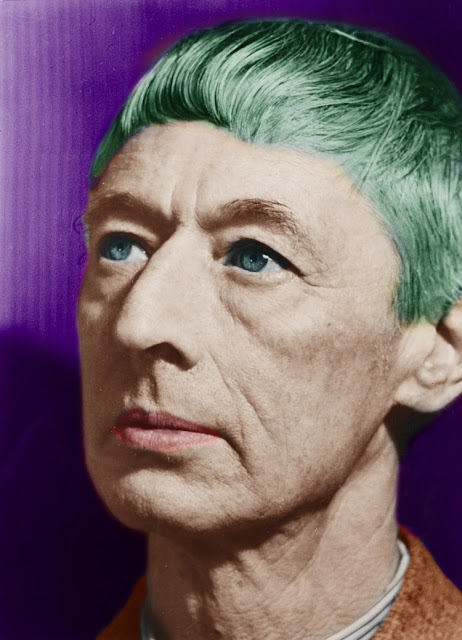 |
| final |
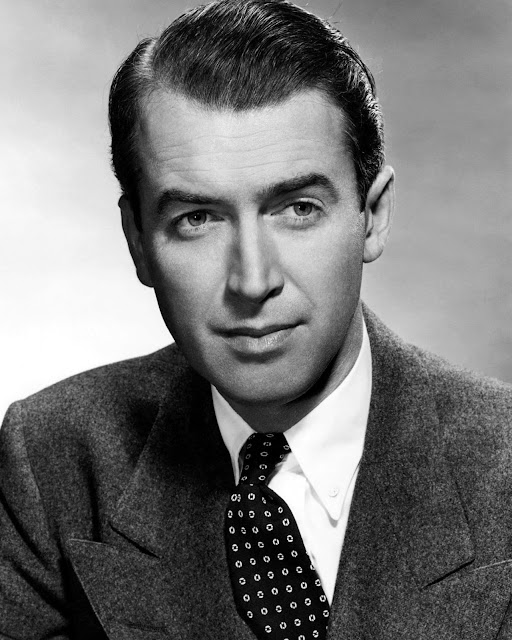 |
| Chosen image |
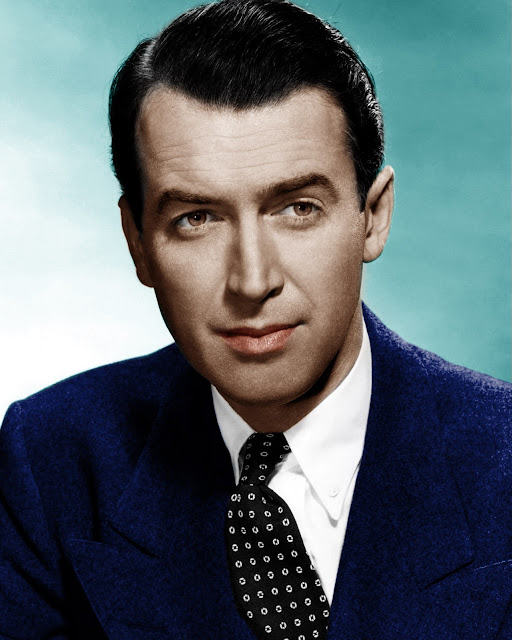 |
| 1st attempt |
Mr Jeffrey commented that overall its good, he just pointed out that the edges of the lips are too harsh and sharp so he told me to soften that with the blending tool.
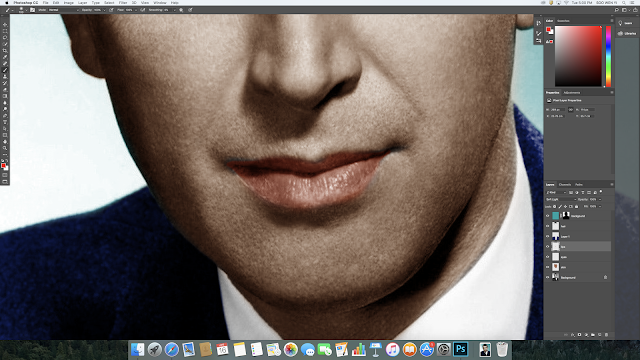 |
| Harshness on the edges of the lips |
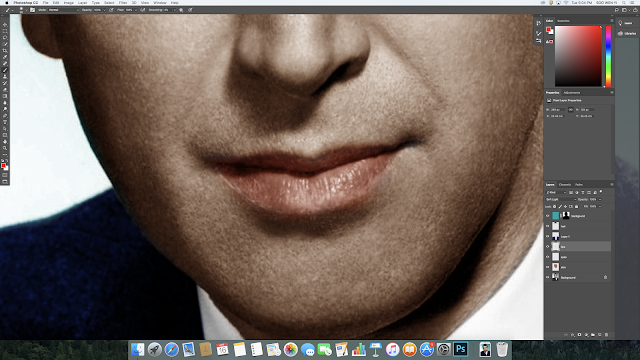 |
| After using blending tool |
 |
| Final |
Exercise 04
Week 04
In this class we did texture replacement, using displacement map. Displacement map is the original image that you want the texture to sit on (like a face), first is to save the original image in black and white in a .psd file. After creating the layer of the texture, you can displace it with the black and white displacement map created earlier.
Then put the horizontal and vertical scale to desire, the lower the number is, the less warping will be done, vice versa.
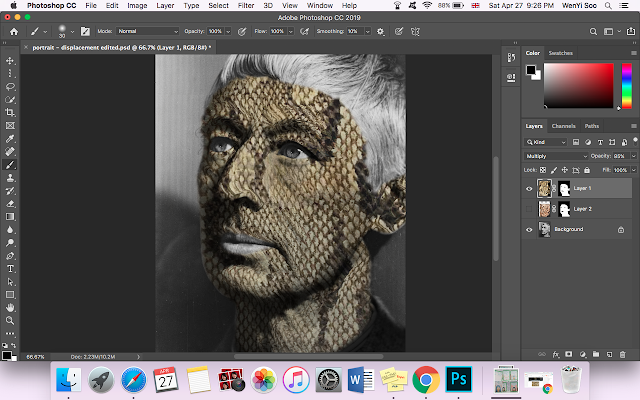 |
| example of a higher number for displacement |
 |
| fixed the position of the snake skin and a lower displacement number |
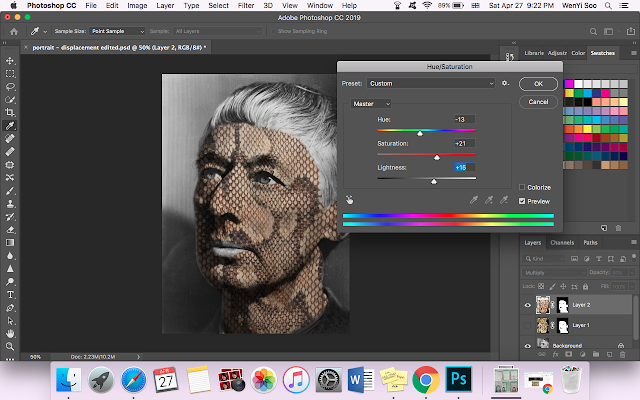 |
| changed the hue of the skin |
 |
| final skin replacement and recolouring |
Next is creating a cloth texture for a flag. If there is white parts and it doesn't show up due to the blending mode, creating another layer with another blending mode is necessary.
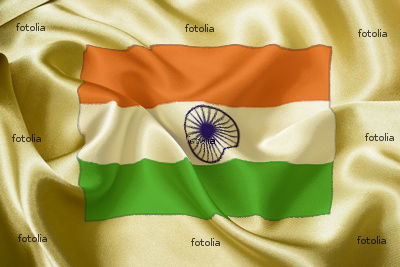 |
| final edited |
Then we move onto replacing our own choice of images (human + texture/animal + texture). I choose these image that I've found on google, a girl and a marble texture.
I went on to create a masking layer for the background to tone it down. Then I decided to let her glow by softening the edges with gaussian blur.
 |
| adding blurring |
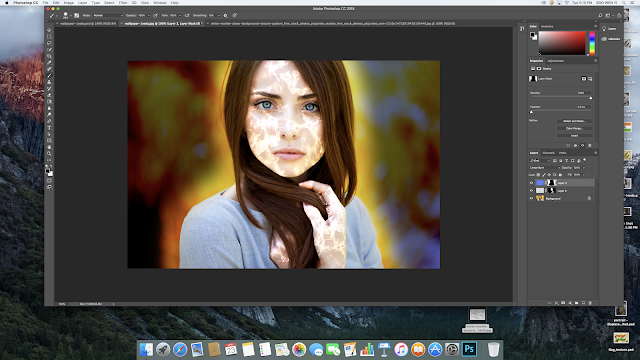 |
| after blurring |
Since she looks like she could be controlling fire due to the glow and the glowing cracks on her skin, I moved on to adding a background image to make things more related. I searched for forest fire on google and ended up choosing this image. I also changed the colour of her shirt to fit more into the overall colour scheme.
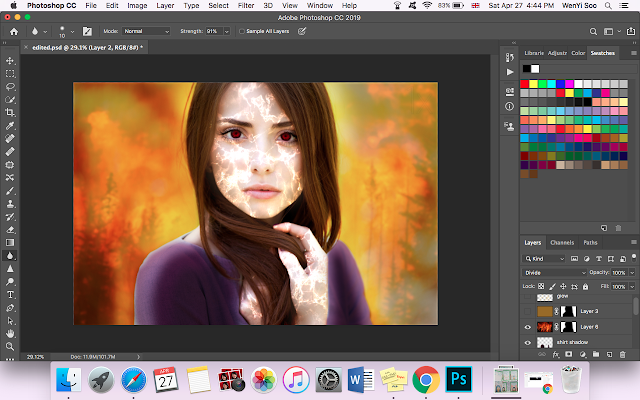 |
| with the background added |
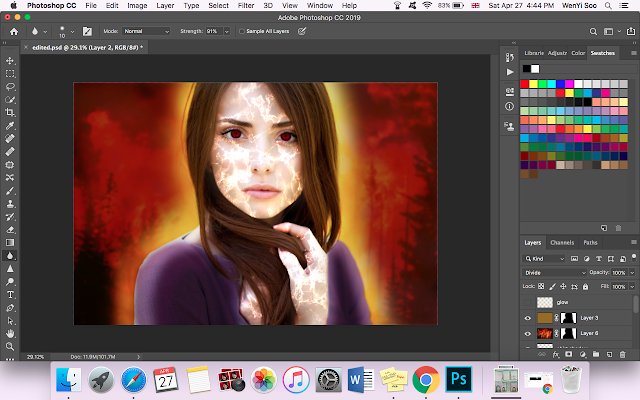 |
| how it looks with the background colour layered |
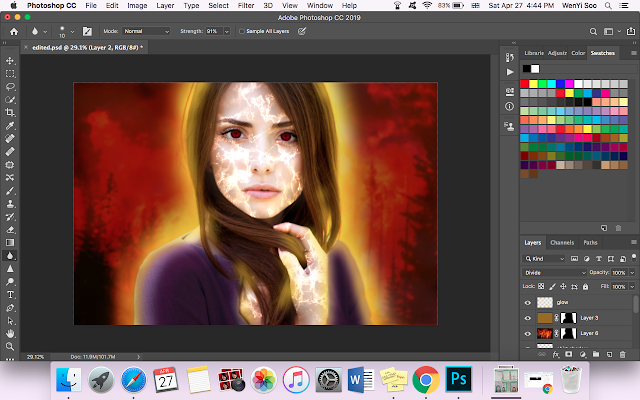 |
| final highlights |
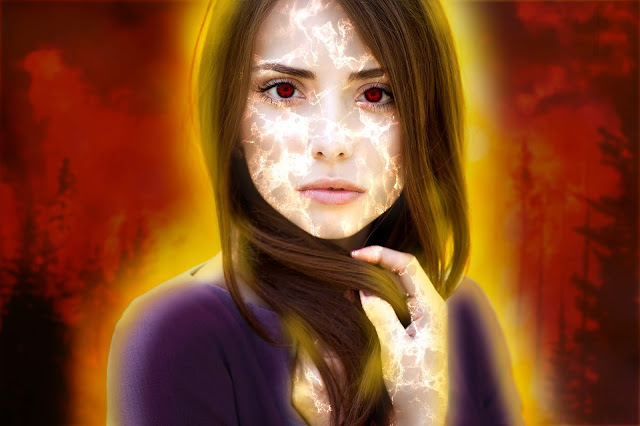 |
| Final result |
Exercise 05
Week 05
there was no guidance from the lecturers, we used the skills that we have learnt in the previous weeks to do today's exercise. We had to recreate this artwork: The Castle of the Pyreness by Rene Magritte.
We had to search for the images we want to use and made sure that the images are HD and the size of the final work is 1080 x 1920. These are the images that I chose.
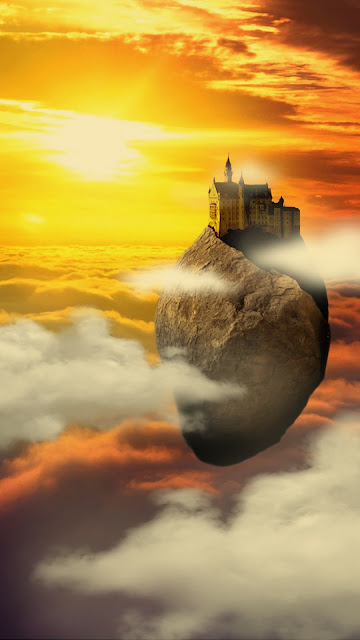 |
| 1st attempt |
After getting the feedback from Mr Jeffrey, he said that it was ok and the composition is working. But changes can be made to improve it. 1st are the additional white clouds, they don't blend in with the background. 2nd is the edge of the rock, make it more rigid. 3rd blur it to match the background. Also adding a cloud to cover the bottom of the rock can also work.
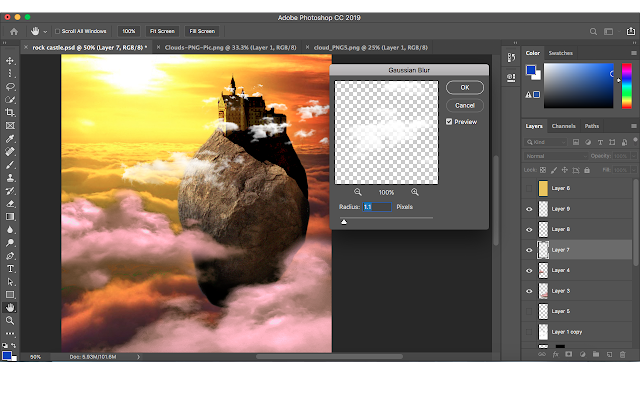 |
| changed the colour of the clouds with match colour and also blurred the clouds in the distance. |
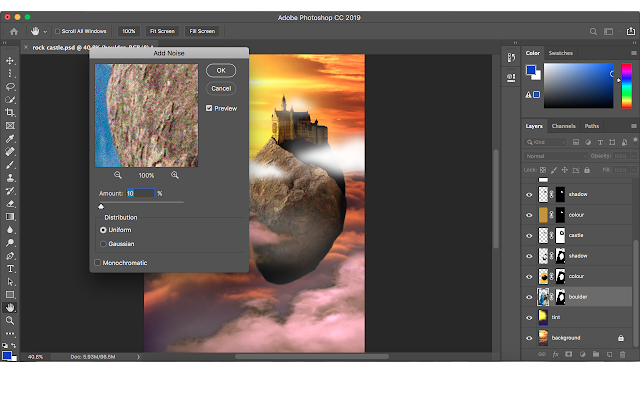 |
| added noise to the rock so its similar to the background. |
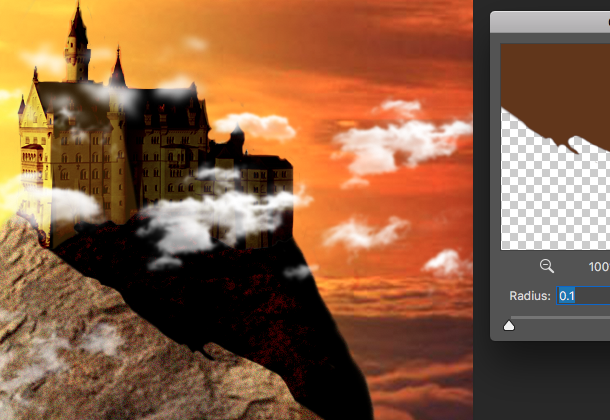 |
| before blurring the shadow |
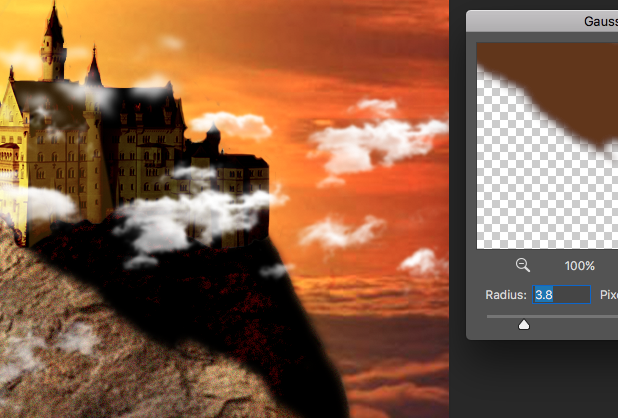 |
after blurring the shadow
|
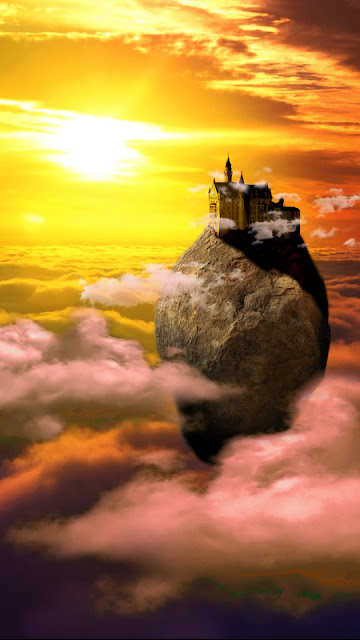 |
| Final result |





Comments
Post a Comment